
The amount of ink needed to print even the smallest of photos is too much if you do this on a regular basis. Unless you need great professional quality photographs (in which case this post is not for you) there is no reason why you should keep to the photo settings of the original photograph. And photographs pop up everywhere in this digital age, from ordinary documents, newspaper articles to blogging sites. But Ink doesn’t come cheap, especially if you buy original ink from the manufacturer of your printer, so it goes without saying that you would need tips to edit those photos to make your ink or toner cartridge last a bit longer. Indeed, there are several ways in which you can adjust your photos and the way you print them to reduce your print budget.
Shrink the Print Size of the Photos
Shrinking the photo decreases the area of the paper needed to have ink dispensed on it, thus requiring less ink. You can usually reduce the size of a photo in a word processor or photo editor/viewer. Shrinking can be done to percentages of the original image. If you reduce by 50% you quarter the amount of ink required!
Reducing the Photos’ Saturation Levels
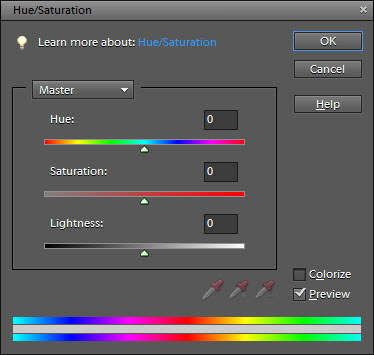
Pretty much all photo editors including the free or basic ones (an even photo viewers) have tools to reduce saturation. Even if editing Microsoft Word document, you can adjust the saturation levels there too. Saturation is the depth or intensity of colour of your photo; it is the extent to which your photo contrasts with white. It is intuitive to see that if you decrease the saturation level that the amount of ink used can be reduced too. The down side of this is that the lower the saturation level, the lower the vibrancy of the photo your printer would print as less in is needed to be deposited on the paper.
Black and White Printing
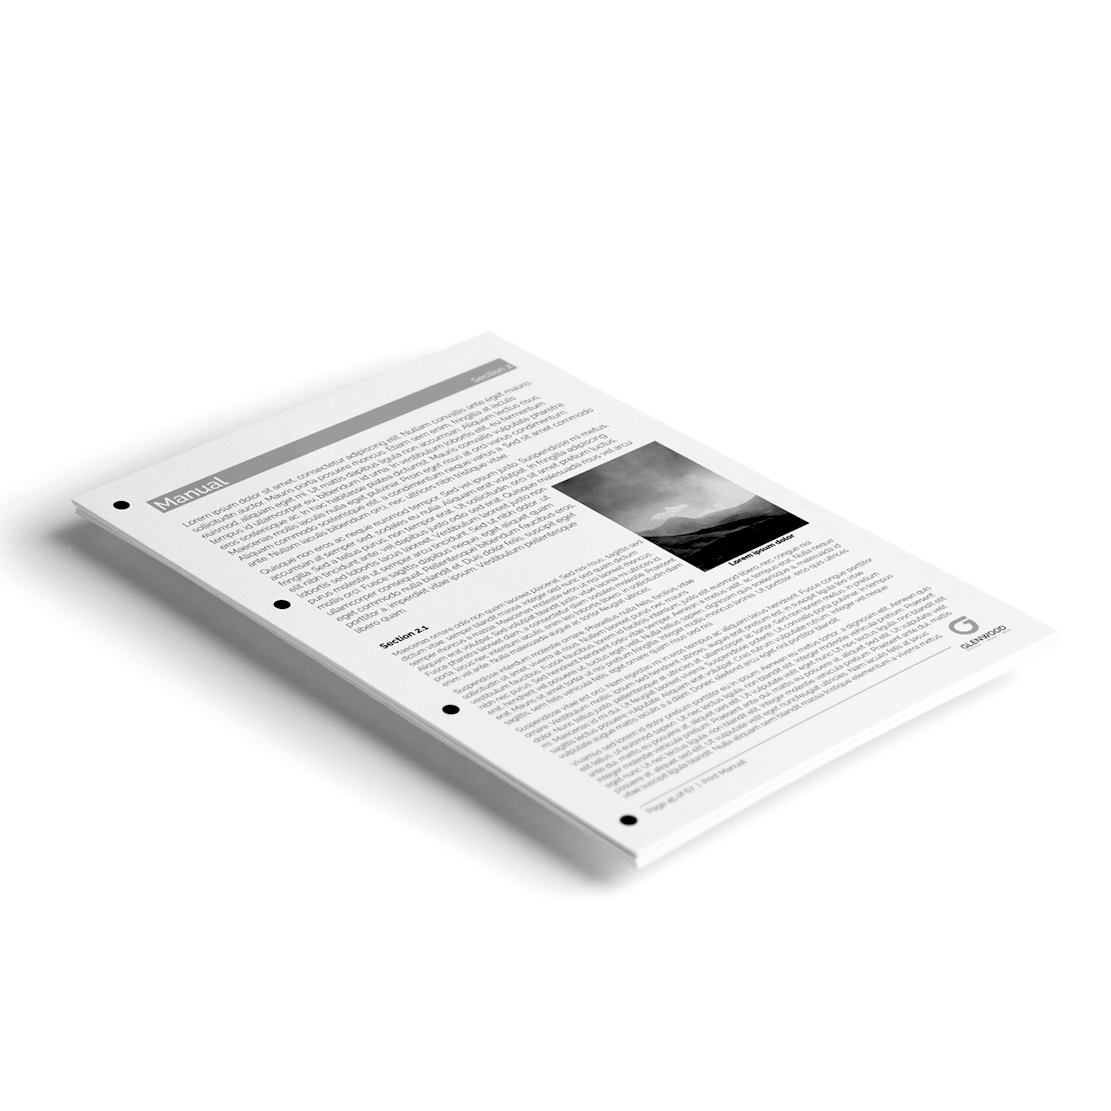
If you don’t require a colour photo and are just using a photo, graphic or illustration for supplementing other material, you would probably be better off with a black and white photo as black ink tends to be less expensive that colour inks. Usually you would be able to change to black and white where you find the toggles to change saturation. In fact a greyscale photograph is just a photo with all its colour saturation reduced to zero.
Therefore, if you don’t have the option of making the photo black and white in the software you are using, reduce the saturation to zero. It should do the trick. This method would work if you printer takes and dispenses black ink separately to colour ink. However, it doesn’t benefit you if the colour inks are mixed to make the black. In this case you might even be worse off, so check how your printer recreates black first.
Print in Economy Mode
When you go to print, the print settings box will pop up. You can change the setting to the economy mode which sometimes goes by the term ‘Print on Saver Mode’ or ‘Save Toner’ or even ‘Draft Mode’. Selecting this option will often reduce the resolution and the printer will know to dispense less ink. Ideally this setting is used for initial drafts of documents where overall quality is no important.
As ink is expensive and photos tend to consume a lot of it, you need ways to reduce your budget. We hope these tips are helpful!
If you wish to contact us about anything, you can visit our store or see our Contact Us page here. You can also call our number or get in touch with us on our Social Media Accounts. All links and information will be provided at the end of this Blog Post.
We hope this Blog post was useful to you. We encourage you to come back every Friday, when we post new content on our Blog!
Our social media accounts: Twitter | Facebook @PremiumComps
Address: 61 East Barnet Road, Barnet, EN4 8RN
Tel: 020 8449 4877
' a Del.icio.us")
' a digg")
' a FURL")
' a Technorati")
' a Yahoo My Web")
' a Newsvine")
' a Google Bookmarks")
' a Squidoo")
' a BlinkBits")
' a Blogmarks")
' a Bloglines")
' a Bookmark.it")
' a Ask")
' a Live-MSN")
' a FaceBook")
' a Wikio")
' a BlogSphere News")
' a Scoopeo")
' a MySpace")
' a ZicZac")
' a Twitter")
' a Technotizie")
' a FriendFeed")
' a Social Bookmarking Reloaded")